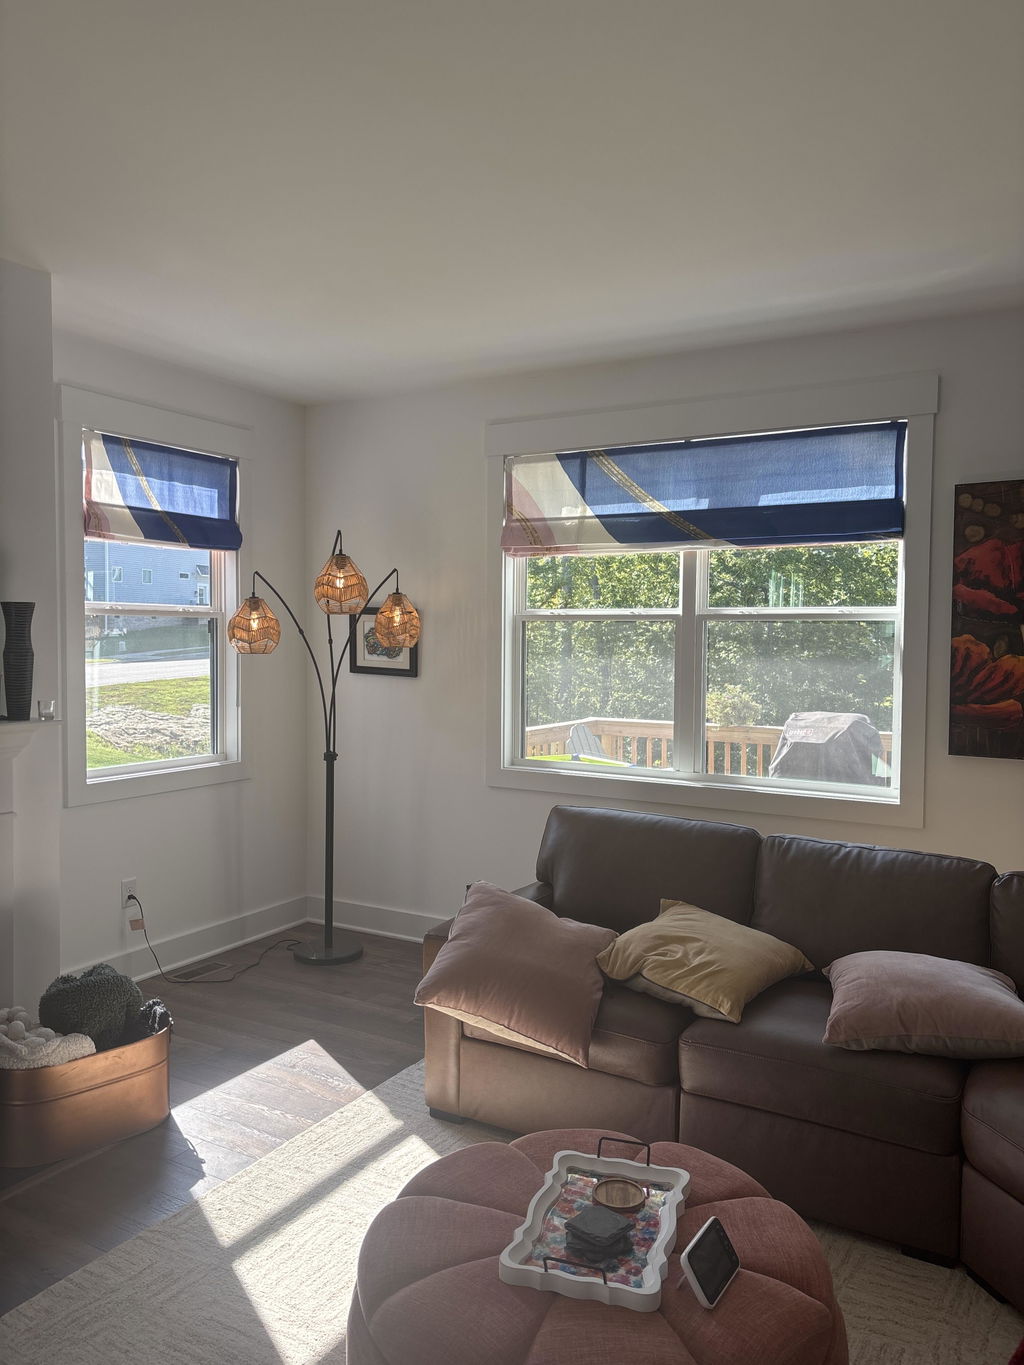
Understanding Fabric Join Seams in Custom Shades
When ordering a custom roman shade, sun sail, or curtain, you may be informed that your product requires a join seam. This is completely normal for larger window treatments and may be necessary when the finished product is wider than the available fabric.
Why Are Join Seams Necessary?
Most fabrics are produced in standard widths, with 140–145 cm (approximately 55–57 inches) being one of the most common ranges. This is not a limitation unique to us,it is a standard followed by fabric manufacturers worldwide. Whether you select Italian silk, premium cotton, or an elegant jacquard, the fabric may not be wide enough to create a larger product from one continuous piece.
However, a wide roman shade, sun sail, or curtain does not always require a join seam. Depending on the product dimensions and pattern direction, we may be able to rotate the fabric and use its width as the finished height. This can eliminate the need for a seam altogether. If this option works for your project, we will let you know.
What Does a Join Seam Look Like?
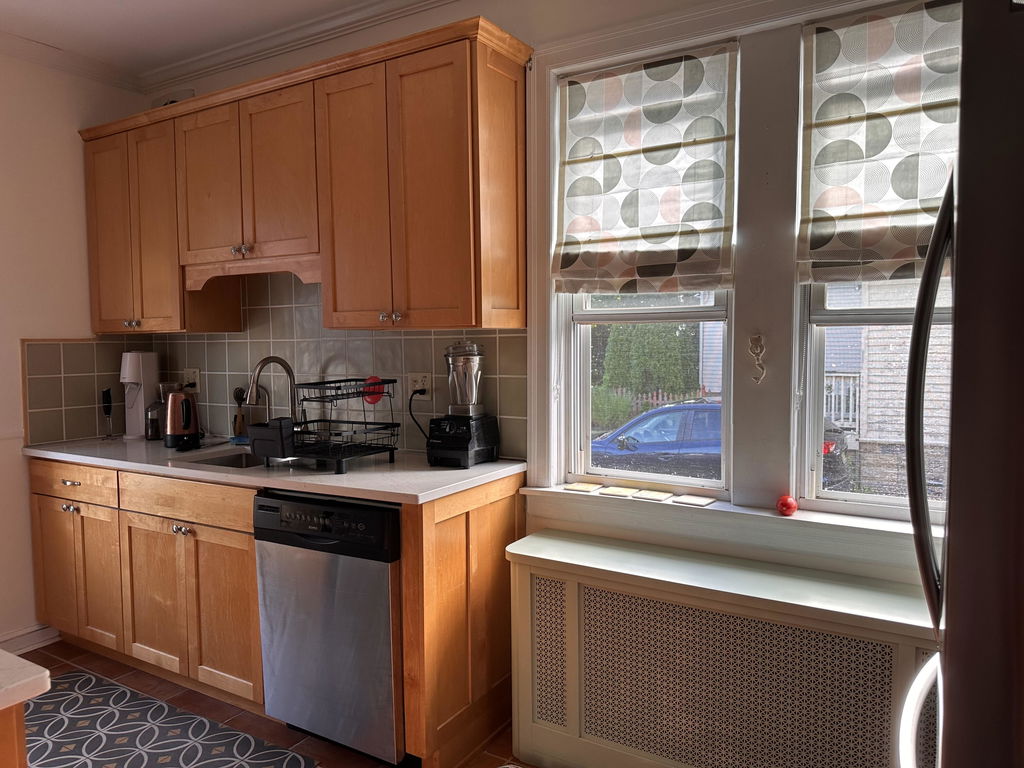
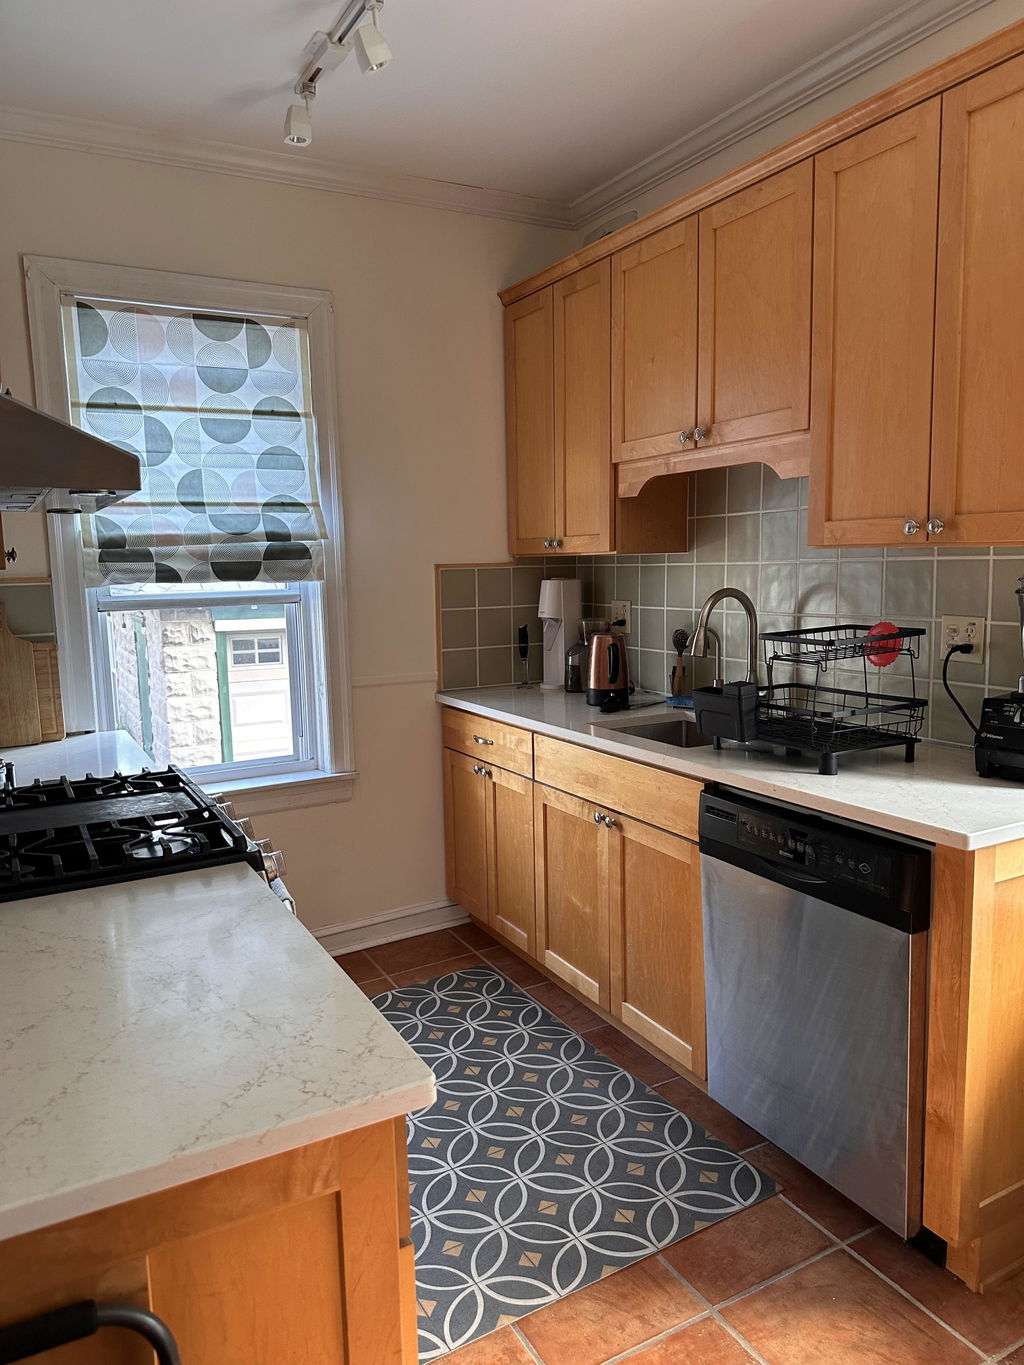
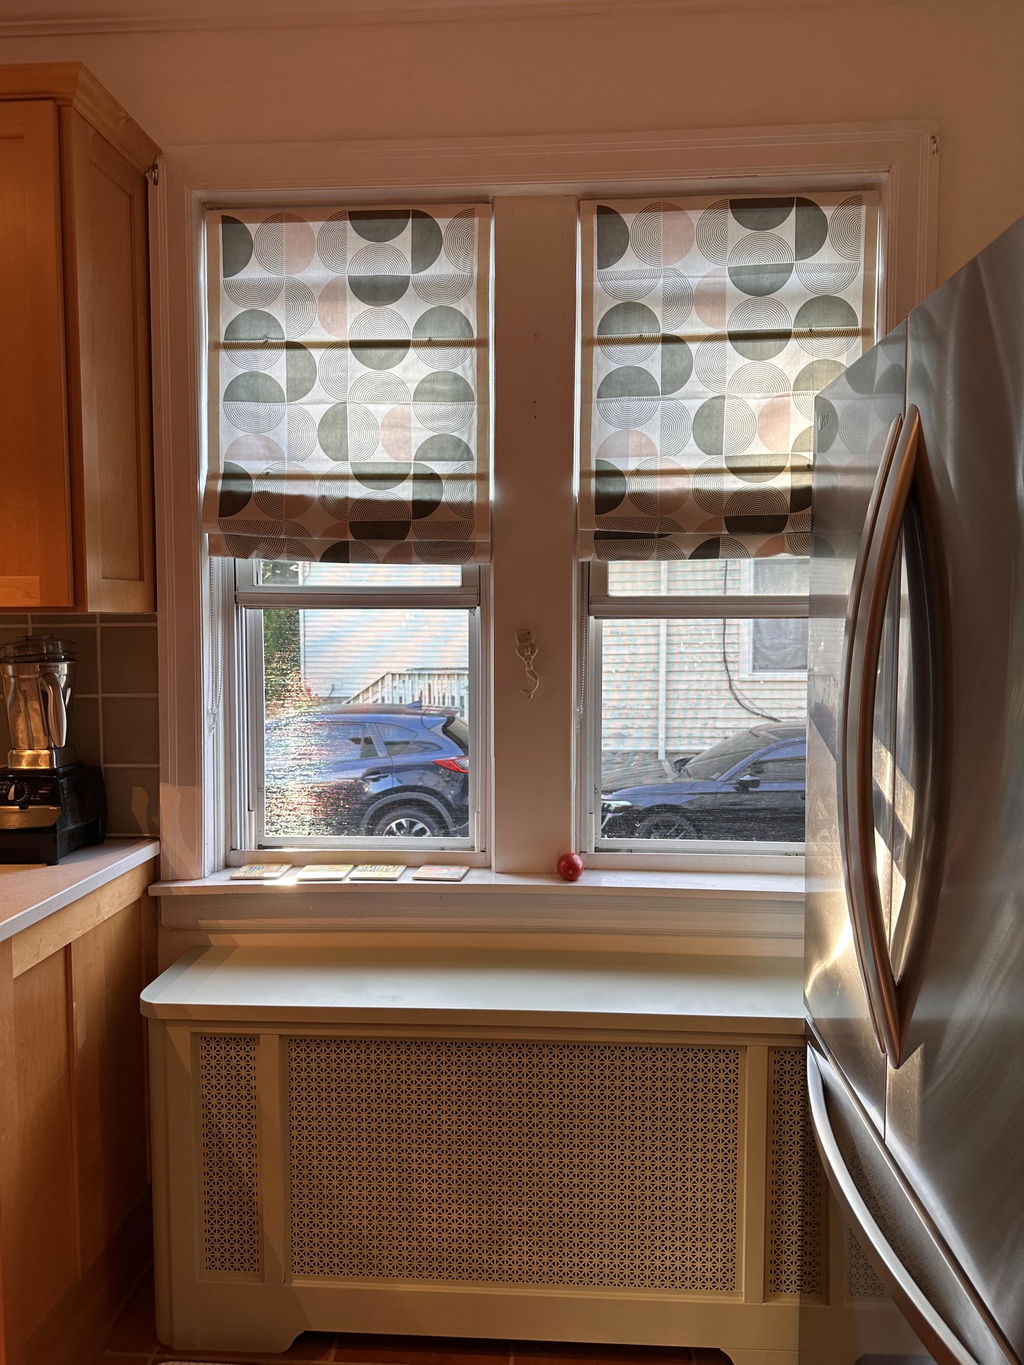
A join seam appears as a narrow stitched line where two pieces of fabric meet.


When Is the Join Seam More Visible?
We carefully position the seam and align the fabric pattern whenever possible to create a clean, balanced appearance. However, the seam may still be visible, especially:
- On solid-colored or lightly textured fabrics
- When sunlight passes through light-filtering material
- When viewed at close range
- On fabrics with large or highly detailed patterns
Depending on the shape, scale, and repeat of the artwork, a slight break or shift in the pattern may be visible along the join seam. Perfect pattern alignment cannot always be guaranteed, as shown in the example below.

Join Seams on Sun Sails
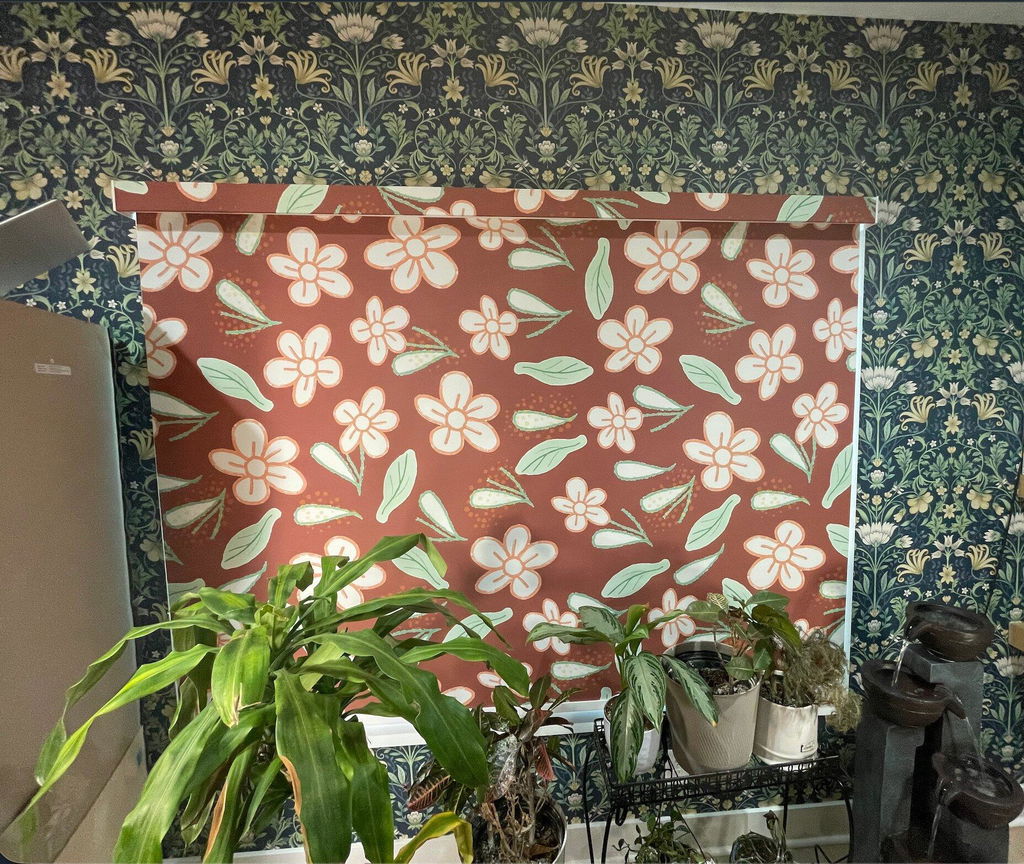
Join seams may be more visible on sun sails, especially under direct sunlight. Because sun sails use large sections of fabric and are designed to be stretched tightly, the stitched line can be noticeable where the fabric panels are joined.

As shown in the photo, the seam runs horizontally across the printed design. We carefully align the artwork across the joined fabric panels, but the stitching and slight variation around the seam will remain visible. This is a normal part of producing an oversized sun sail and is not considered a defect.
Although the seam may be noticeable up close, it usually blends into the overall appearance of the finished product when viewed from a normal distance.
How Do We Align the Pattern?
For printed or patterned fabrics, we make every effort to align the design across the joined sections. However, natural fabric movement, printing variations, pattern repeats, and the construction process can all affect the final alignment. For these reasons, a perfectly invisible pattern match cannot always be guaranteed.
Our goal is to achieve the best possible alignment while maintaining the correct finished size and a balanced overall appearance.

Where Will the Seam Be Placed?
The seam location depends on several factors, including the finished size, fabric width, artwork, pattern repeat, and construction method.
Whenever possible, we place the seam in a position that creates the cleanest and most balanced result. For custom-printed fabric, we may also adjust the artwork layout to help the seam blend more naturally into the design.
Can I Request a Specific Seam Location?
Yes. If you would like the seam centered or placed in a specific location, please let us know during the ordering process. Our tailor will accommodate your request to the best of our ability.
If you do not have a preference, our team will review the fabric, design, and finished dimensions to determine the most suitable seam placement.

Can I Avoid a Join Seam?
If rotating the fabric is not possible, you may consider:
- Selecting a different pattern or print that makes the seam less noticeable
- Dividing one large Roman shade into two smaller shades
- Adjusting the finished width, if your installation allows it
If you are unsure which option will work best, please contact us before ordering. Our team can review your measurements and selected fabric and help you choose the most suitable solution.
Pro tip: If you have selected a directional pattern, please mention it when ordering. Our design team can review the direction of the artwork and strategically position the seam to create the most visually balanced finished product.